Digital Painting

Photo-painting can be a great way to enhance landscape photography and turn it into something more than just another snapshot.
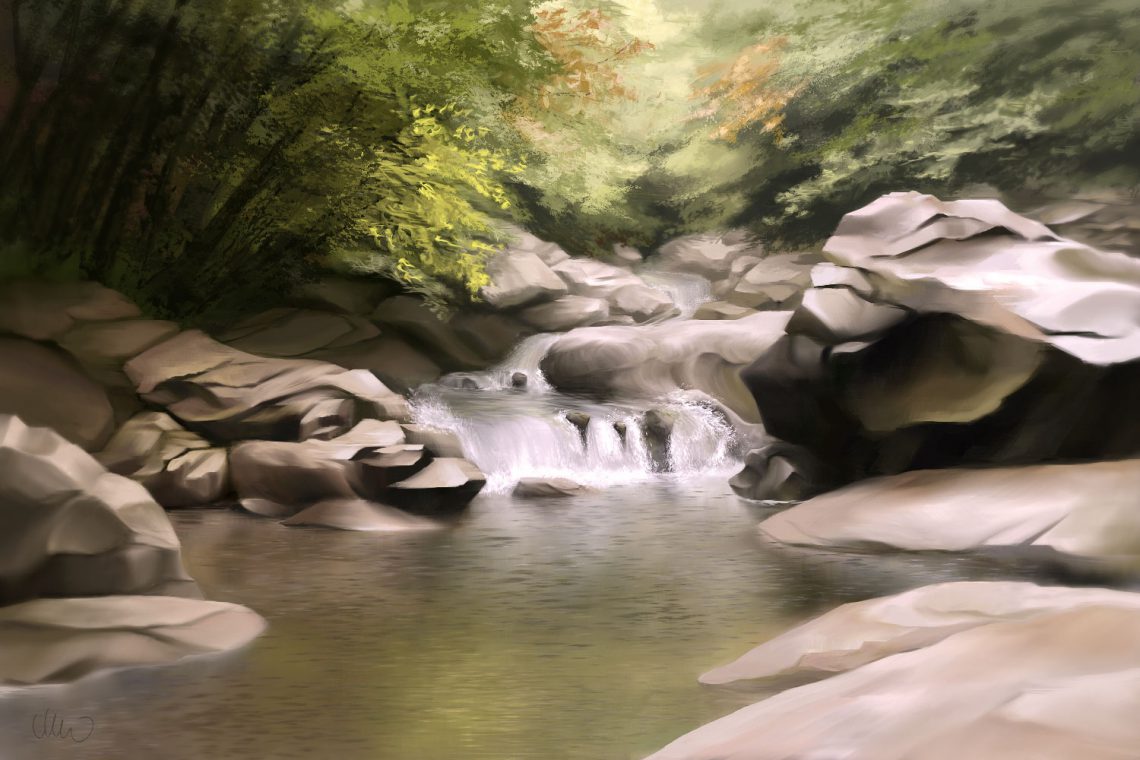
Based on this 2007 photo.
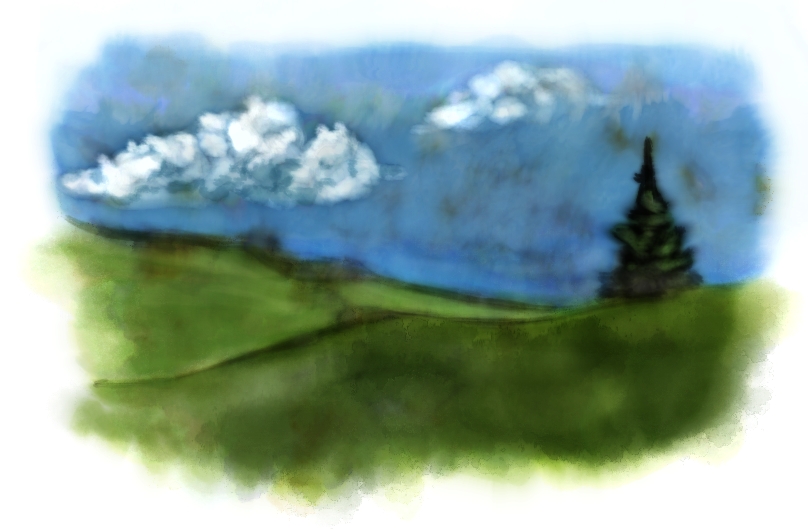
Trying out Real Watercolor , which debuted in Painter 12. Complex layering makes for some really interesting textures and color combinations.
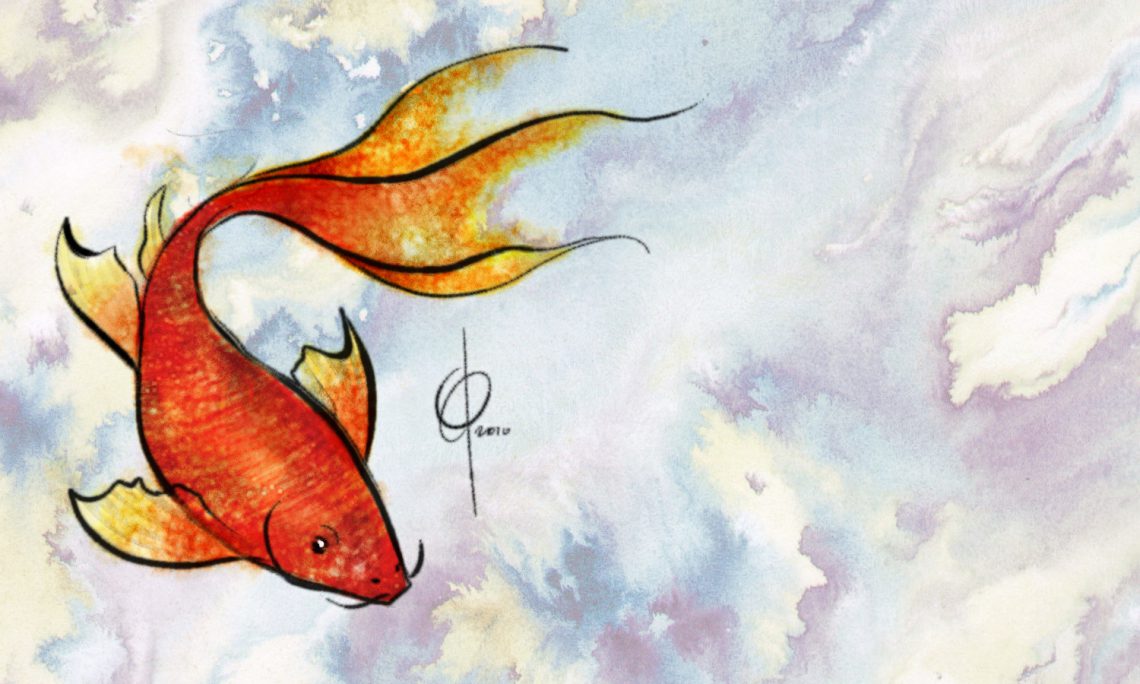
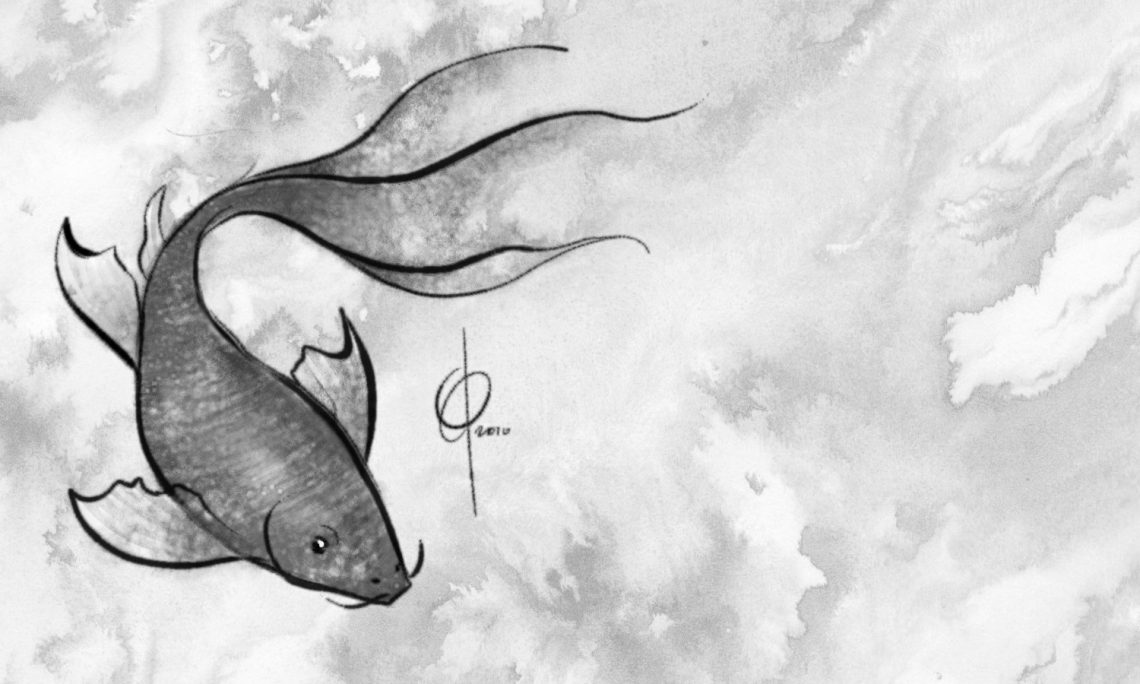
This koi painting is the result of more experimentation with the sumi-e style. It combines the watercolor brushes available in Corel® Painter™ with a texture created by floating calligraphy inks on paper.
The koi itself shows some of the texture effects that can be created by laying down a base coat of Painter’s watercolor and then manipulating it with clear water and wet erasers also available in Painter.
The watercolor brushes in Painter are somewhat difficult to use because color builds very quickly while painting with them. The difficulty is worth it though.
These brushes are unmatched in the way they move and spread with the underlying canvas.
Unlike traditional watercolor, Painter’s watercolor also stays wet until the user decides to dry it. The wet paint particles can be further manipulated, mixed and moved with various erasers and other brushes to create texture that would be difficult to achieve any other way.
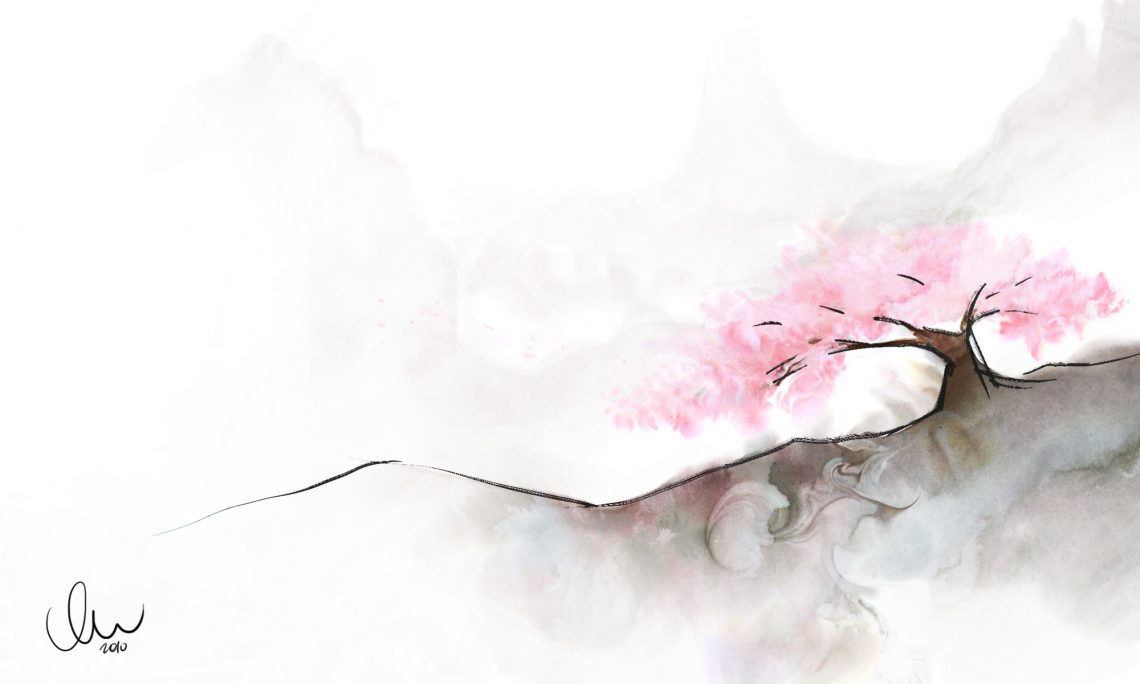
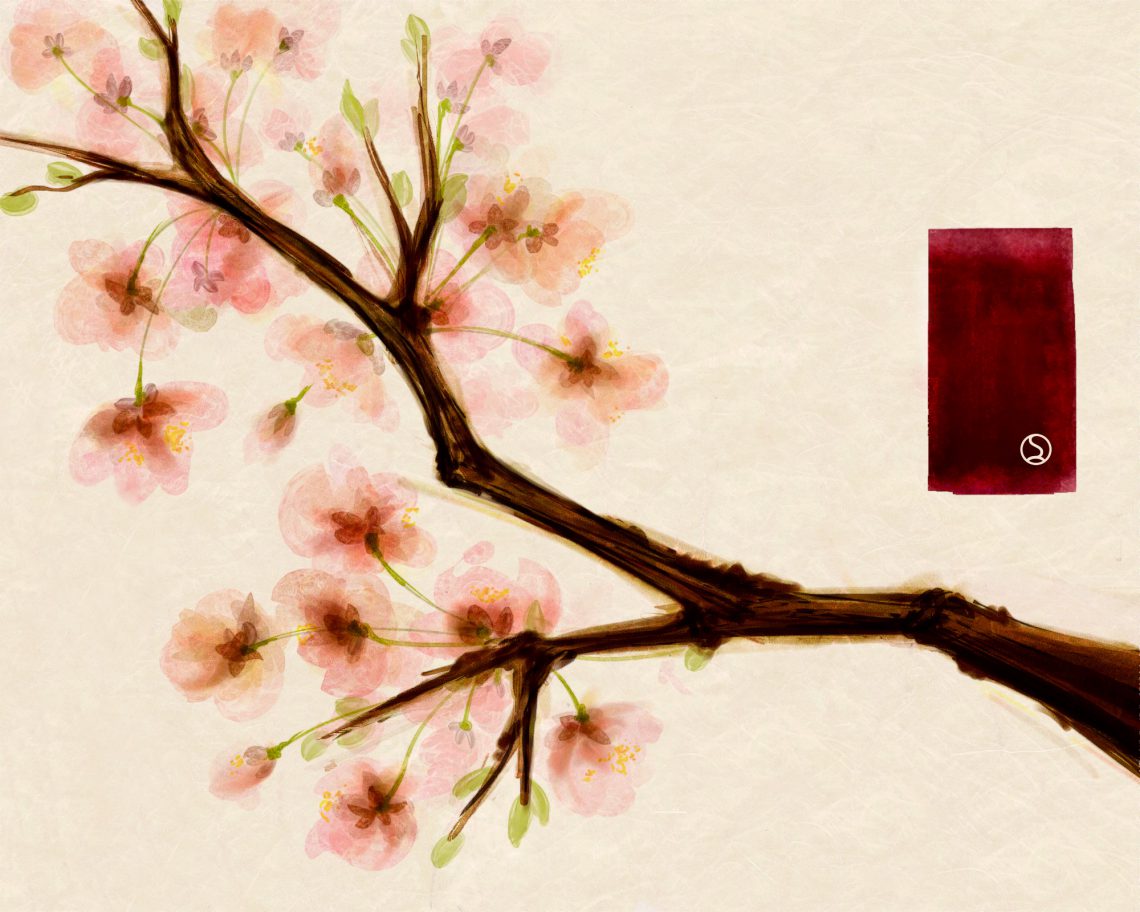
This blossoming plum tree painting was created in Corel® Painter™ 11 while playing with a sumi-e style. It is often difficult to achieve the look of wet media digitally, but with my own technique and a custom brush, the effect comes close.
The method used depends on the natural (at least in the digital world) effect of image interpolation. In short, Painter must guess colors to include in the painting as areas of color are blurred and broken apart in a controlled manner. In a less technical sense, the color is broken into its main components like ink and moves it around the canvas as if it were floating on water. The soft, wet media is a great complement to the harsh black outlines of the ground and tree.
Since I updated to Windows 7, I’ve noticed a strange bug with my aging, workhorse Intuos 2 tablet (I know, I should update to Intuos 4 – or at least 3). The bug causes the Windows mouse pointers to change from the normal-sized Aero cursor theme to the Large or Extra Large theme. Small bug, but very annoying!
Here’s the Quick Fix
If you’re experiencing the same problem as me, the fix is to disable the menu strip at the top of the tablet’s work area.
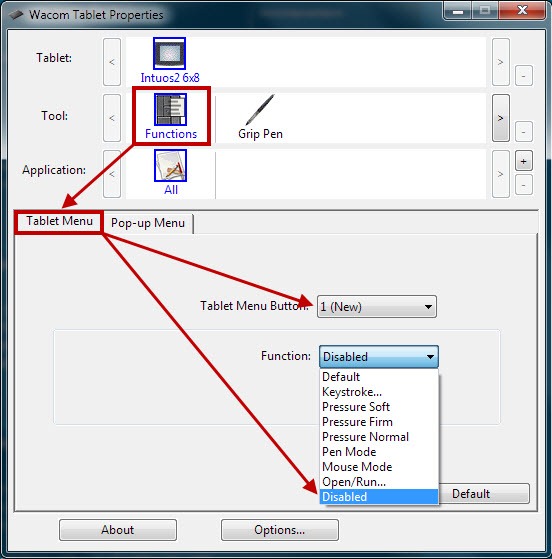
- Open the Wacom Tablet Properties application from your start menu (or from the Control Panel).
- Select Functions from the Tool panel.
- Select Tablet Menu from the tabbed interface.
- For each of the 18 Tablet Menu Buttons, choose Disabled as the function.
- Enjoy using your tablet without the strange mouse cursor bug.
What about Intuos 3 and Intuos 4?
Other tablets in the Intuos line are apparently affected by this bug as well. Some in the Wacom forums have suggested that tablet buttons, touch strips and the new touch ring may cause the bug to appear as well. The updated driver released a few days ago may help solve the issue, but may not. I didn’t dig any further after fixing my own problem.
If you are affected and can’t find a fix, to change your mouse cursor back to the normal size, open the Mouse settings dialog from the Control Panel (simply called Mouse), select the Pointers tab and click the OK button to reset to your normal cursor theme.
Are there other solutions out there?
If any of you have any other solutions to the issue, or notice that the updated driver fixes the issue, add a comment to let everyone know.
