Corel Painter X
UPDATE: The Studio|chris Brush Installer has been discontinued and is now the Studio|chris Brush Manager. This post exists only as an archive. The integrated installer and download links for the Brush Installer have been changed. To install the new, free Brush Manager software, visit the Brush Manager’s main page.
Behind the scenes, I’ve been working on the next version of the Studio|chris Brush Installer. The 0.6 beta branch will bring a lot of changes and increased functionality. A release date hasn’t been set, but here’s what to look forward to!
A New Interface
The first thing you’ll probably notice is a new interface that is customized especially for the application. Things are still as simple as the original as far as installing brushes – simply drag and drop your brush ZIP file on your OS box and the installer takes care of the rest.
The new interface is standardized over all operating systems, so Windows and OS X users will see the exact same interface. The screenshot below isn’t complete, but is a working prototype of the new interface.

A New Name
With the next release, the Studio|chris Brush Installer will become the Studio|chris Brush Manager. The Brush Installer name is going away in the next version for two very good reasons:
- Documentation Confusion: “Have you installed the installer correctly using the install button on the website?” Yeah, I’m scratching my head too and I wrote the thing! The new Brush Manager name will help avoid this type of confusion.
- New Features: The new feature set for the application really expands the application to be more than just an installer, so the new name encompasses those new features and also future improvements.
The new name is set in stone for the foreseen future of the application.
A New Feature Set
I mentioned some new features in the previous section. Here are some of them:
- Settings panel accessed by clicking the new Settings button (wrench icon) in the title bar. That messy Vista UAC checkbox is going in there with a lot of other options.
- Install brushes to Painter 7 through Painter X.1, even if you’ve customized the location of the Painter Brushes folder (ie. “I install all of my applications to D drive instead of C drive.”). This will also bring support to Windows Vista 64-bit. Thanks Les and Sue.
- Automated updates, not to be confused with automatic updates. Updates will no longer require visiting the website to install the new version. For updates to 0.6 and beyond, just open the settings panel and click the update tab to check for and install updates.
- The new Manage Brushes tab (will not be active in 0.6) contains functions to backup, delete, deactivate and reactivate brush categories. The Manage Brushes tab will become active in version 0.7 for users who wish to purchase an upgrade package. The Install Brushes tab will always remain free.
- In the background, and included as part of the new settings, you may choose to activate “logging” to log where files are being placed while using the Install Brushes tab. This will be useful in troubleshooting.
The Studio|chris Brush Installer version 0.5.2b introduces another compatibility fix for Microsoft Windows Vista (all versions). Vista users should upgrade immediately. Windows XP and Mac OS X users are unaffected by this update.
If installing this update, please uninstall previous versions using Add/Remove Programs in the Windows XP Control Panel or Programs and Features in Windows Vista. Mac users may uninstall by dragging the application in /Applications/Studio-Chris to the trash.
Barring other compatibility issues, the next version will include the settings panel as well as an automated update procedure.
How do I know which version is installed?
The version number is located in the user interface of the Brush Installer, below the application’s name.
Getting Help
The new Studio|chris Support Forum has a dedicated section for the Brush Installer. Register and post your questions there for any issues you may encounter.
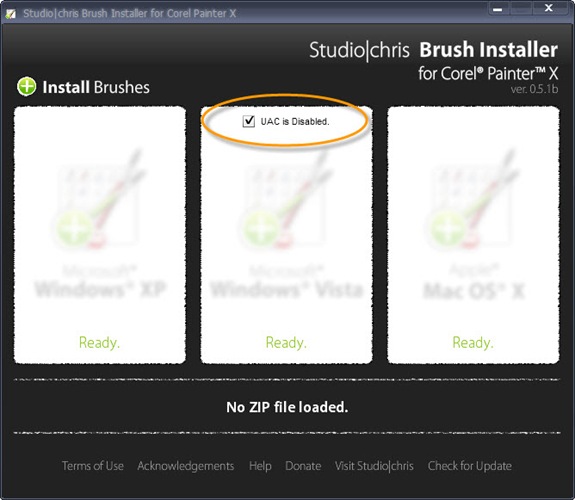
The Studio|chris Brush Installer for Corel Painter X has received its first update which is aimed specifically at Windows Vista users. This update brings compatibility with Vista’s User Access Control (UAC). If UAC is enabled on your system (which it is unless you’ve disabled it yourself), the Brush Installer will work “out of the box” by installing brushes to your specific user folder. Of note, this location is not a permanent location and custom brushes will be deleted by Painter if an emergency reset is needed (performed by holding the Shift key while starting Painter). In this event, at least you have an easy way to reinstall the lost brushes!
For those who have disabled UAC, the update still works out of the box for you as well, but you have an extra option. If the checkbox for “UAC is Disabled” is checked, your brushes will be installed to the Program Files directory as opposed to your specific user folder. Brushes installed to the Program Files directory are permanent and will not be deleted during emergency resets of Painter.
Sorry for the extra clutter in the interface, but a proper Settings panel is in the works to hide that checkbox when not needed and also to save whether the box has been checked or not between sessions. I felt it was important to release this intermediate update quickly without the Settings panel to ensure the installer is compatible with the majority of systems before moving on to more complex features.
Painter users, I present the first public beta of the Studio|chris Brush Installer for Corel Painter X. I can’t even begin to count the number of questions posted on various forums across the web asking how to install brushes into Painter. Now the answer is shorter than the question and ten times as fast! Drag and Drop.
NEW [Expanded] Corel Painter X Brush Installation Directions:
- Drag brush ZIP file onto your operating system inside of Brush Installer and release the mouse button.
What? You expected more directions? It really is that easy. Studio|chris Brush Installer takes all the guessing away from where to install Painter brushes because it knows where to put them and installs them automatically for you!
Go check out the master release page for all the details and the install badge!
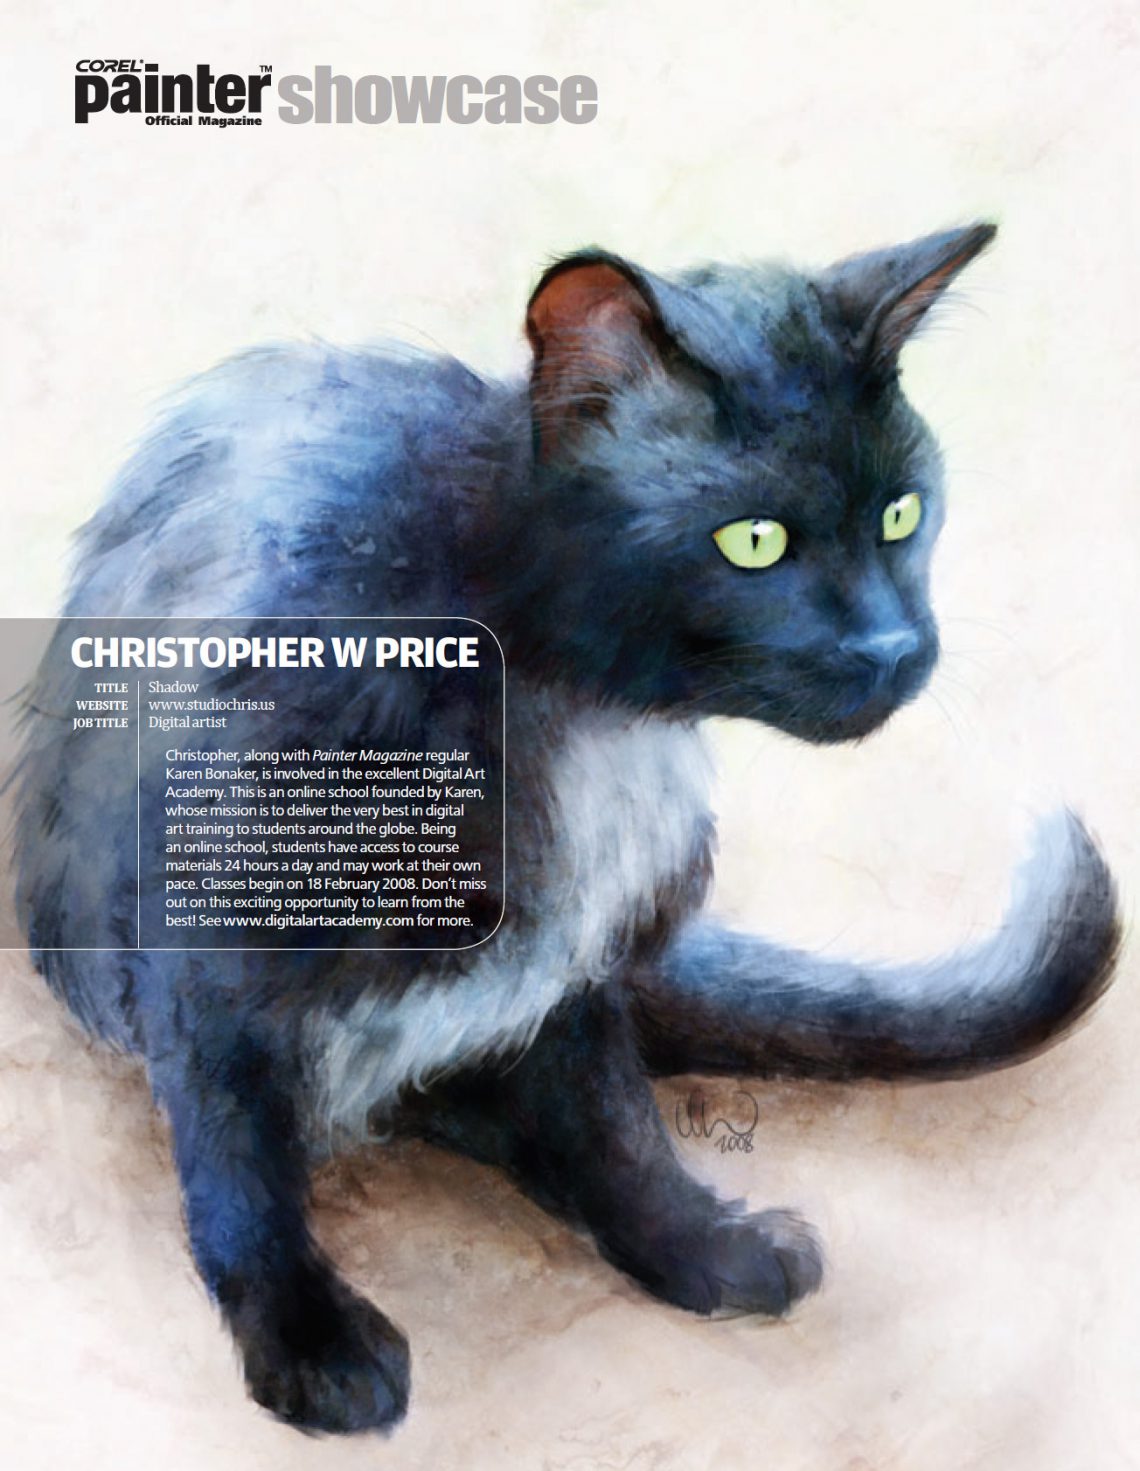
Shadow, my sister’s cat painted earlier this year, makes an appearance as a full page print in the current issue of Painter Magazine‘s Painter Showcase along with some information on Digital Art Academy!
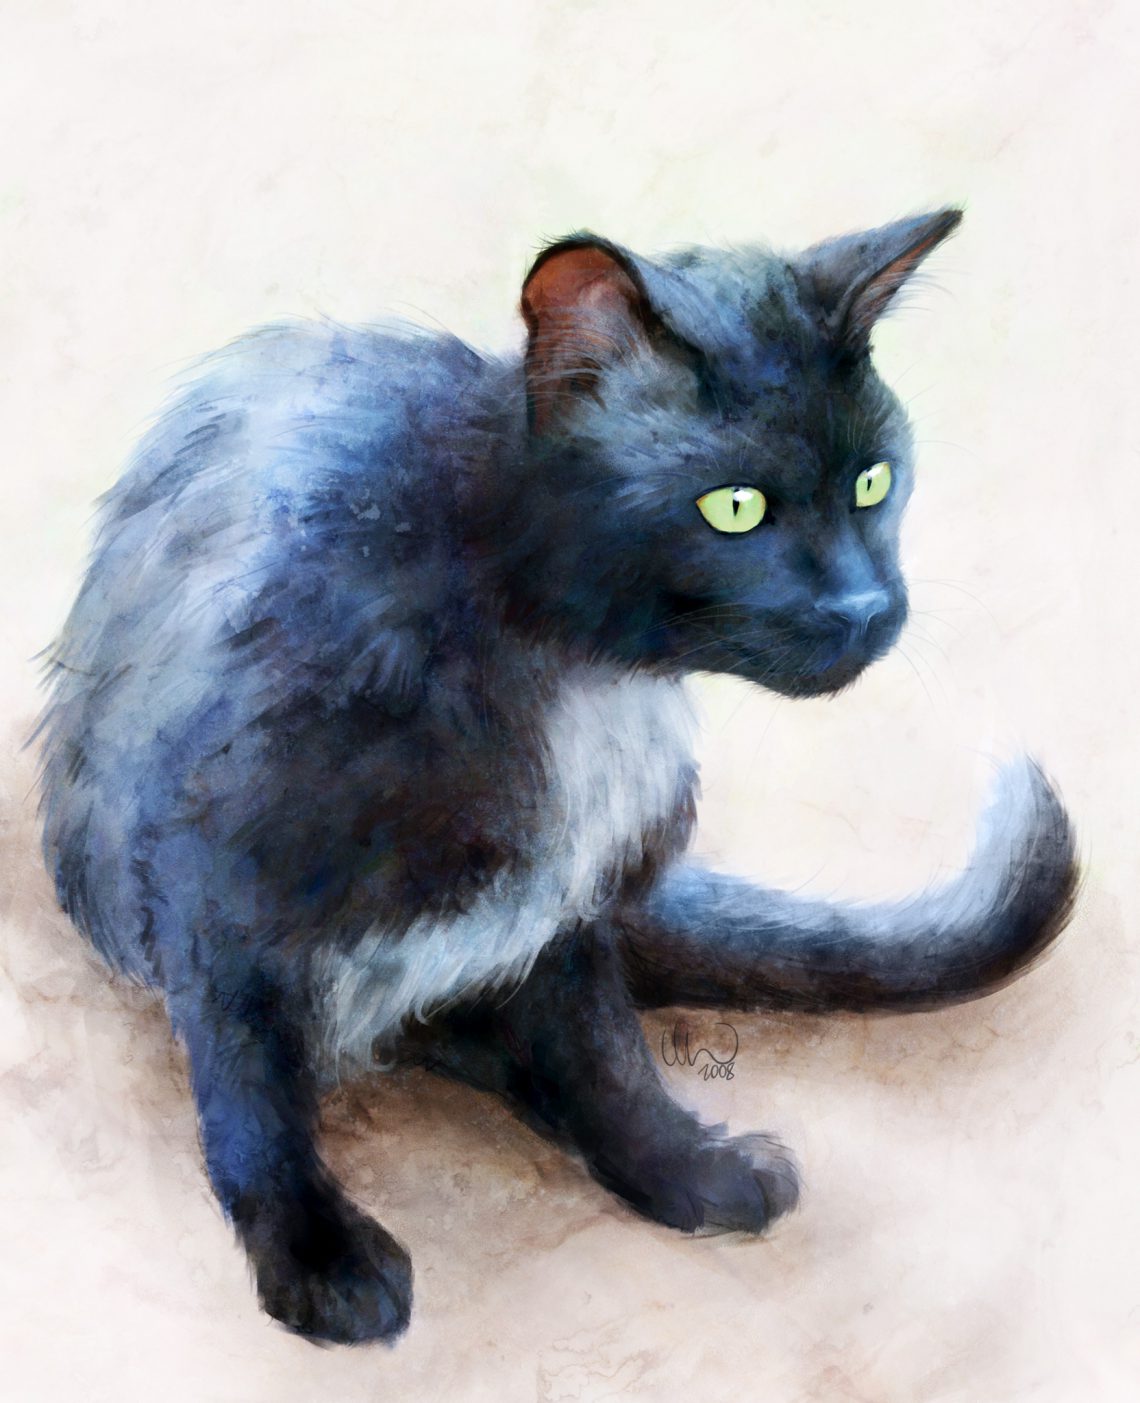
As promised on Twitter! At the request of Karen Bonaker and Painter Magazine, I created this painting of my [sister’s] cat, Shadow. I think this is a good painting to kick off 2008.
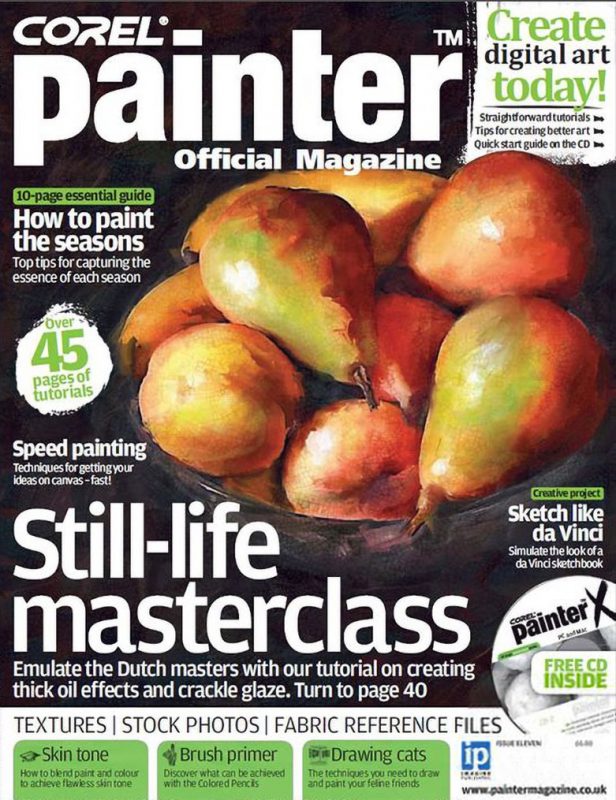
Issue 11 of Corel Painter Magazine has been released at their website! These issues usually sell out quick, so go grab your copy while they’re available. To give the answer to my Sneak Peek, Carrie was correct! Go read her comment in the sneak peek’s post to see the answer.
Corel Painter X and the 6D Art Pen
Surely this award-winning software package needs no introduction. Its reputation for being the best emulator of “natural” media has not formed for no reason! This digital painting application has touched the lives of many digital artists the world-over and has changed the face of digital art many times over from release to release. Also, thanks to Painter and the talented artists that employ it, digital art is gaining popularity and credibility in the art community.
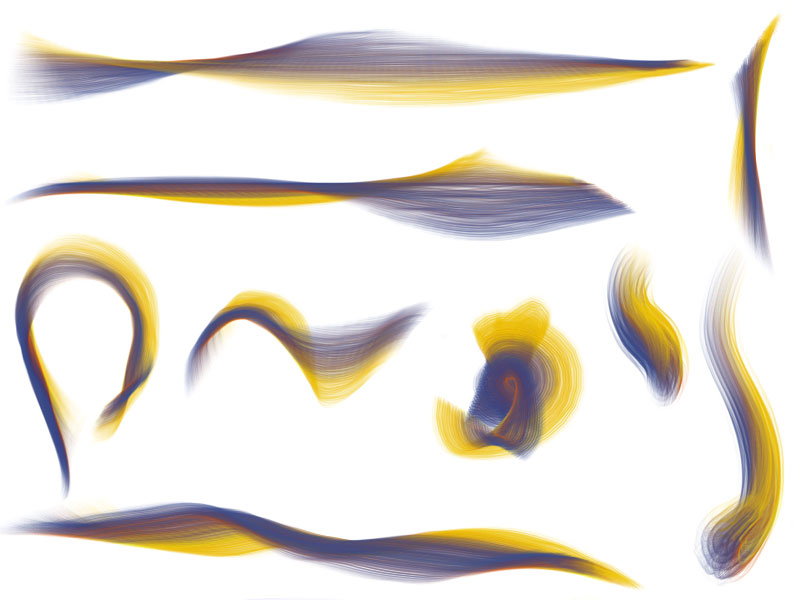
Painter’s digital arsenal includes interactive bristle brushes, “wet” watercolors, luscious oil paints, and over 40 other traditional media packaged neatly into a single application. With the latest incarnation of Painter, version X (10), Corel adds an entirely new functionality to its interactive bristle brushes with the introduction of Real Bristle Brushes brush category. These amazing brushes mimic the look and feel of a traditional bristle brush by applying brush rotation, a new brush shape (enhanced through the use of seemingly 3D brush tip shapes) which can be customized endlessly to create flat, round, and fan brushes, multiple color support though the Multiple Colors Sampler in the Mixer Palette, and other great features.
In the example above, I’ve put together several samples of strokes created with various Real Bristle brushes and the 6D Art Pen. As you can see, the brush rotation is very prominent. Fan brushes take on new life with interactive control of the angle of the brush tip.