General
If you’re a fan of atmospheric phenomena and forces of nature that tweet, then you’re really going to love Karl! San Francisco sure does.

A composite of two old iPhone photos.

Greenwood, SC → Memphis, TN → Amarillo, TX → Kingman, AZ → San Francisco, CA
The countryside was beautiful for the drive, but after four days of driving and riding across nine states, from South Carolina to California, seeing this was even better.
I’m almost home.

Somewhere in Texas with windmills.
I apologize, everyone. I thought I had disabled the expiration on the build that was posted back in November 2011, especially when it didn’t expire properly on January 1, 2012. I was wrong. It didn’t expire in January due to a bug in that build. It is fixed now and FruitBat no longer has an expiration date at all, not even a disabled one.
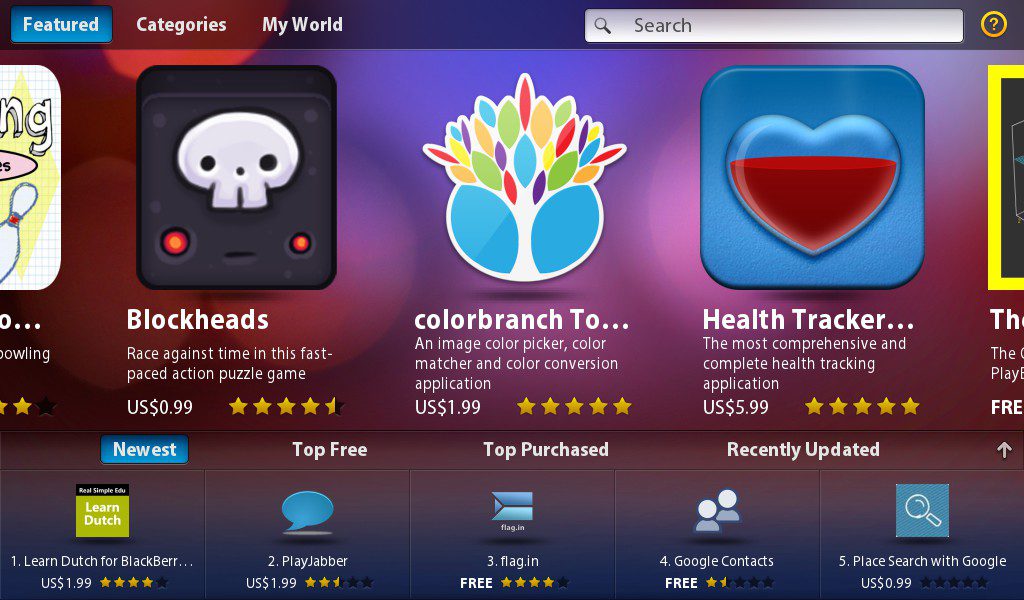
What a nice surprise!
The current version of Brush Manager will not receive an update specifically for Painter 12; other plans are in the works. However, the current version is compatible with Painter 12. Here’s what to do:
- Open the Settings panel by clicking the wrench icon in the title bar.
- Leave your settings the way they are, especially User Mode which should be set to YES for most users. If you use a location that isn’t one of the default locations for Painter (ex. a folder on D: drive), skip steps 3 and 4.
- For consistency choose Painter 11 from the Painter Version drop down.
- Click the button that says Set to Default Location, then check the checkbox beside it for using a custom path.
- If your path uses Application Data or AppData in Windows or Application Support on Mac OS, change 11 (or your version number) to 12 — this should be most users. If your path uses Program Files on Windows or Applications in Mac OS, change “Corel Painter 11” to “Painter12″ with no spaces. Windows 64-bit users should also remove ” (x86)” — the space in front of it too– from the Program Files folder name.
That’s it! This will install brushes into the Default workspace in the Painter Brushes library. Changing “Default” to another workspace name will use that workspace instead. Changing “Painter Brushes” to another library name will use that library instead. It’s all pretty straightforward.
If you do choose to use a different workspace or library, my recommendation is to use the Browse button that opens beside the path’s text box, just to make sure spelling and spacing are exact. The folder selection dialog that opens will be set to your current location and you should be able to see the folders for your other workspaces. Expand a workspace along with its Brushes folder and choose a library (any folder inside of the Brushes folder) and click OK. Now Brush Manager will install into the chosen workspace and library.
If you haven’t already, read or skim through the FlashDevelop & PlayBook basics and set up your development environment. This includes installing the PlayBook SDKs and the FlashDevelop BlackBerry Tablet OS Template. Once you set up your development environment, it’s time to create a new project and write some code.
WordPress 3.1 came out a couple of days ago, and I’m enjoying it so far. A lot of the new features will come in handy in a few weeks when I have time to sit down and tweak this theme.
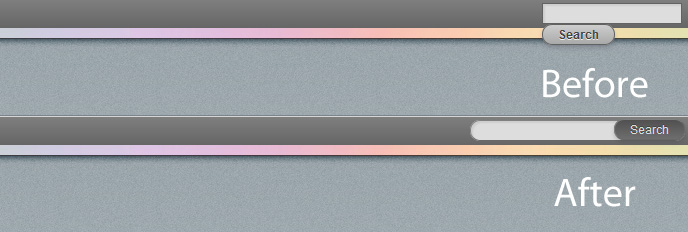
One feature added in this release is the Admin Bar. When logged in, it is shown fixed to the top of your browser window. It has links to all of the important sections of the admin panel along with unapproved comment counts and update alerts. It also has a search bar to the far right. Something is off in the CSS for the search bar in a default install; the search button, which should be beside the search field, has dropped below. Form elements don’t always play nice.
After looking at it for two days, it bothered me enough to write some corrective CSS.
